
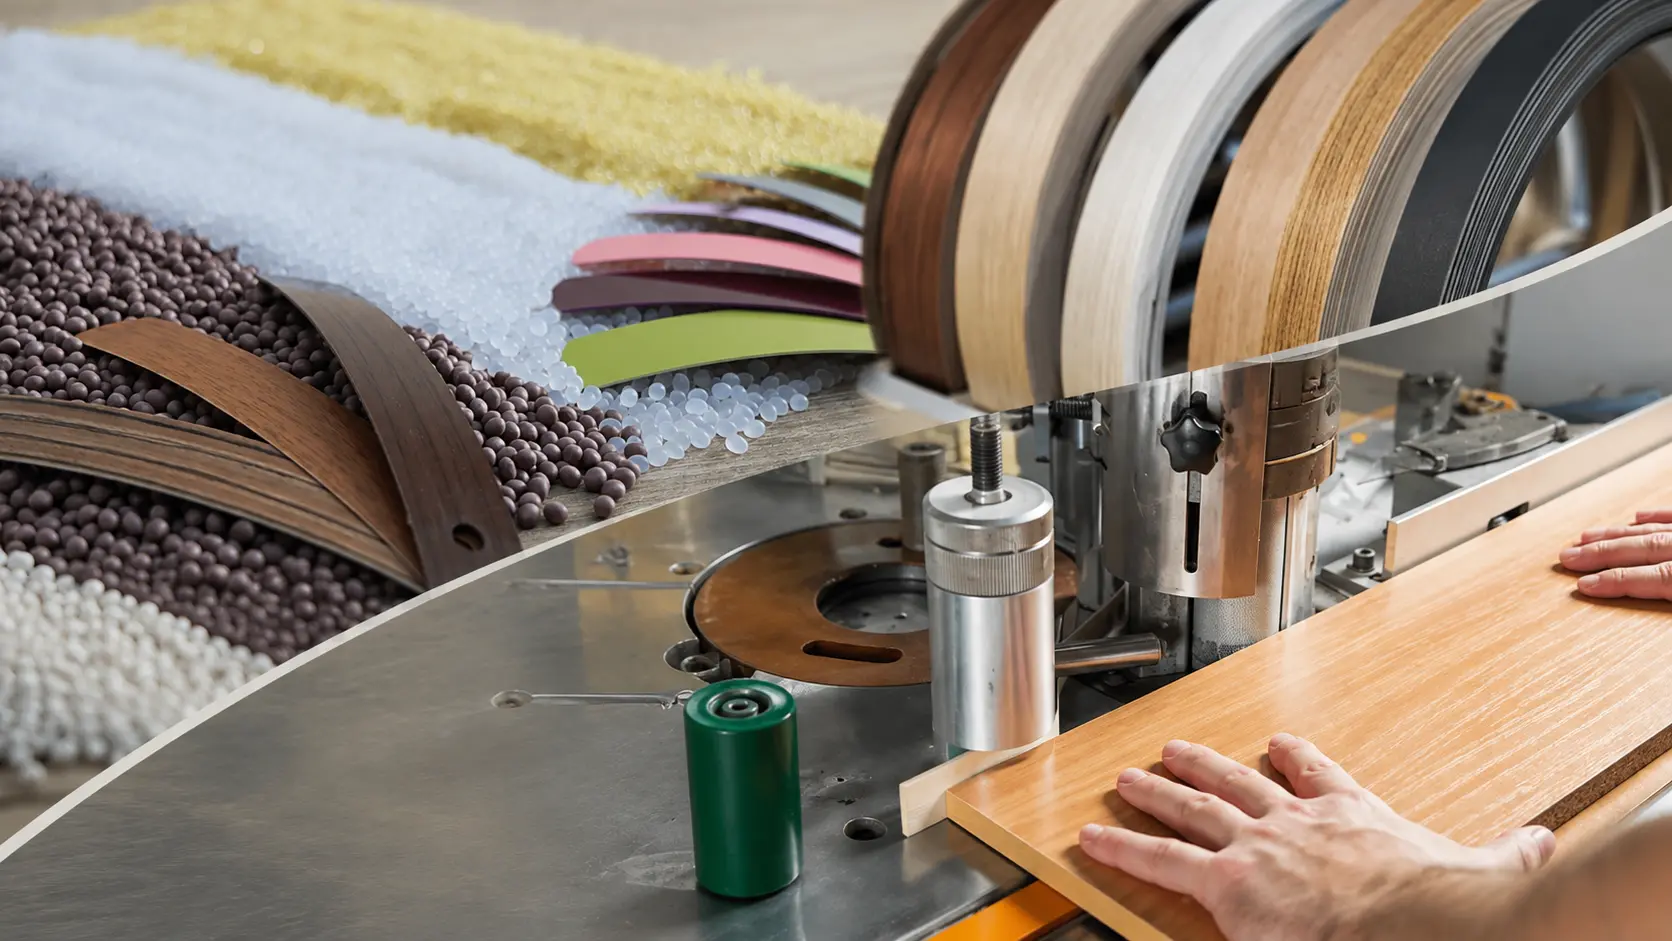
Walk up to any piece of panel furniture and look at it the way a customer does. Nobody inspects the middle of the board — everyone's eye goes straight to the edge. A clean, tight edge says quality; a visible glue line or a lifting band says the opposite. And behind every perfect edge there are two things working together: a well-set edgebander and the right edgebanding adhesive.
This guide is written as a practical training for anyone who runs, sets up or buys for an edgebanding line. We will cover how edgebanding works, the main types of edgebands, what actually goes on inside an EVA edgebanding hotmelt, a short look at PO hotmelts, how to apply the adhesive correctly, and what to check when edges start failing.
What Is Edgebanding — and Why the Adhesive Decides the Result
Edgebanding is the process of covering the raw, cut edge of a wood-based panel — MDF, particleboard or plywood — with a narrow strip called an edgeband. It does two jobs at once: it gives the panel a finished look, and it seals the edge against moisture, impact and everyday wear. An unsealed edge is the weakest point of any cabinet; once moisture enters through it, the board swells and the damage is permanent.
On an automatic edge banding machine, every panel makes the same short journey:
Pre-milling — cutters take a fresh, clean pass off the panel edge so the adhesive bonds to sound material, not to a chipped or dusty saw cut.
Gluing station — a heated roller transfers molten edgebanding hotmelt onto the panel edge (on some machines, onto the band).
Pressure zone — a series of rollers presses the edgeband onto the glued edge. The first roller does most of the work; this is the moment the bond is actually made.
End trimming and flush trimming — saws and cutters remove the overhangs at the ends and along the top and bottom.
Scraping and buffing — fine finishing that removes trimming marks and polishes the edge.
Here is the key point of the whole process: the adhesive is molten for only a few seconds. It has to leave the roller hot, wet both surfaces instantly, and build strength the moment it cools. That is why small details — glue temperature, glue amount, panel temperature, feed speed — have such a big effect on the final edge. Get them right and the bond outlives the furniture. Get one of them wrong and the band peels in the customer's kitchen six months later.
Types of Edgebands (and What Each One Asks From the Adhesive)
Modern edgebanding hotmelts are formulated to handle the common band materials, but each material behaves a little differently. Knowing what is on your machine helps you set it up correctly.
Edgeband type | What it is | Typical use | What to watch |
|---|---|---|---|
Melamine | Resin-impregnated paper, thin (0.4–1 mm) | Economy furniture, interior parts | Brittle; needs clean pre-milling and correct glue amount to avoid a visible line |
PVC | Flexible thermoplastic, 0.4–3 mm | The workhorse of panel furniture | Always supplied with a primer (back coating) — bond quality depends on it |
ABS | PVC-free thermoplastic | Export markets and eco-conscious ranges | Also primer-coated; slightly stiffer than PVC on radii |
PP (polypropylene) | Low-energy thermoplastic | Budget and PVC-free programs | The hardest surface to bond; a fresh, intact primer layer is essential |
Acrylic (PMMA) | Clear or high-gloss band | Premium gloss fronts | Show surfaces reveal every flaw; pair with a clean, near-invisible glue line |
Veneer | Real wood strip with fleece or backing | Furniture with natural wood look | Absorbent; may draw in more adhesive, so verify coverage |
Solid wood strips | 3 mm+ lippings | Heavy-duty edges, table tops | Thick and stiff; needs sufficient glue amount and firm pressure |
One practical rule covers most of this table: check the primer. PVC, ABS and PP bands carry a factory-applied bonding layer on the back. If a band is old, stored badly or supplied without primer, no edgebanding adhesive on earth will hold it reliably. When a "glue problem" appears only with one specific band batch, the band is usually the problem.
EVA Edgebanding Hotmelts Explained
EVA (ethylene-vinyl acetate) hotmelts are the standard adhesive of the edgebanding world, and for good reasons: they melt quickly, grab instantly, run reliably on virtually every machine ever built, and forgive the small variations of everyday production. An EVA edgebanding hotmelt is a solid thermoplastic — granules or blocks — that contains the EVA polymer for strength and flexibility, resins that control tack and wetting, and in most grades a mineral filler.
The bonding cycle is simple and fast: the adhesive melts in the tank, the roller spreads it on the edge, the band is pressed on, and as the glue cools past its setting range it solidifies and holds — all within seconds. There is no chemical curing and no waiting; the bond you have after cooling is the bond you keep.
Filled, Low-Filled and Unfilled: What the Filler Actually Does
Filler content is the single biggest difference between EVA edgebanding adhesives, and it is worth understanding because it changes both cost and appearance:
Grade | Filler content | Strengths | Trade-offs |
|---|---|---|---|
Filled (standard) | Higher | Economical, good body, fills small imperfections on the panel edge | More visible glue line, higher consumption by weight |
Low-filled | Reduced | More adhesive polymer per gram, stronger bond, finer semi-transparent glue line, more running meters per kg | Slightly higher price per kg |
Unfilled (transparent) | None | Nearly invisible glue line, maximum polymer content, premium edge look | Premium product; best on well-prepared panels |
A filled hotmelt is the right everyday choice for standard boards. A low-filled or unfilled grade pays for itself where the edge is on show — gloss fronts, light uni colors, thin melamine bands — or where per-meter consumption matters more than price per kilogram.
The Numbers on the Datasheet, Translated
Working temperature — the range the adhesive is designed to be applied at, typically around 190 ± 10 °C for standard straight-line EVA grades and lower for curve grades. Below the range, the glue does not wet the surfaces and the bond is weak even though everything "looks glued". Above it, the adhesive smokes, chars and degrades.
Viscosity — how thick the molten glue is, measured in mPa·s. Higher-viscosity grades give body and gap-filling; lower-viscosity grades spread thinner and wet faster, which suits fine glue lines and curves.
Softening point — the temperature at which the set adhesive begins to soften again. It is the simplest indicator of how the bonded edge will behave in a hot delivery truck or a sunny showroom window.
Open time — the few seconds the applied glue stays bondable. Your feed speed and the distance between glue roller and pressure zone must fit inside it. This is why "slower is safer" is false in edgebanding: run too slowly and the glue is already cold when the band arrives.
A Quick Word on PO Hotmelts
Polyolefin (PO) hotmelts are the modern step up within heat-applied edgebanding adhesives. Compared with EVA, PO grades typically offer higher heat resistance, better long-term aging, cleaner running with less odor and charring, and a lower density — which means noticeably more running meters from every kilogram. They suit lines that band parts for hot environments, run long shifts between cleanings, or want tighter consumption figures.
For most workshops, a quality EVA remains the practical, economical standard; PO is worth a trial where those specific advantages carry real value. One operational note if you switch or trial: EVA and PO should not be mixed in the melting tank. Run the tank down and purge it when changing chemistry, exactly as the datasheet describes.
Choosing the Right Edgebanding Hotmelt: The UNOFIX Range
The fastest way to choose is to match the adhesive to your machine type, line speed and the look you want at the edge:
Product | Type | Working temperature | Machine / speed | Best for |
|---|---|---|---|---|
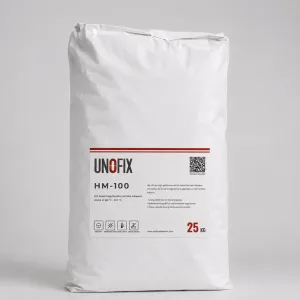
Standard filled EVA | 190 ± 10 °C | Automatic straight lines | The everyday workhorse for PVC and melamine bands on MDF and particleboard | |
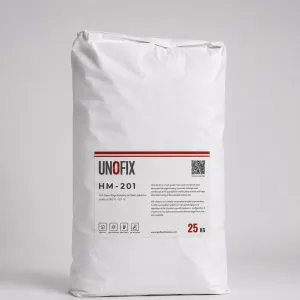
High-grade filled EVA | 190 ± 10 °C | Medium-to-high speed straight lines | Demanding production: minimal charring, easy roller clean-off, lower consumption across melamine, PVC and HPL | |
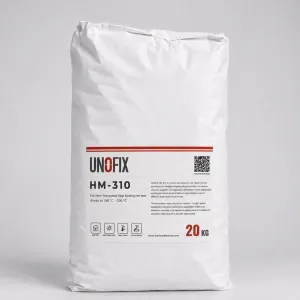
Low-filled, semi-transparent EVA | 190 ± 10 °C | Medium-to-high speed straight lines | High adhesion with a fine, discreet glue line at production speed | |
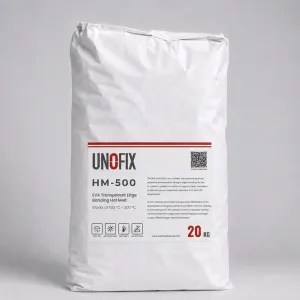
Unfilled, transparent EVA | 190 ± 10 °C | Low-to-medium speed straight lines | Premium, seamless-looking edges where the glue line must disappear | |
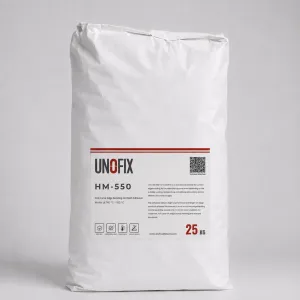
Low-viscosity curve EVA | 150 ± 10 °C | Curved edgebanding machines, 4–6 m/min | Even spreading and long-term strength on curved and shaped parts |
A few pointers from daily practice. If you run one glue for everything on a standard straight line, start with HM 100 and step up to HM 201 when uptime, tank cleanliness and consumption become the priorities. If customers comment on the glue line, move to the low-filled HM 310 — or to the transparent HM 500 for high-visibility fronts. Curved work is its own discipline: the lower working temperature and low viscosity of HM 550 exist precisely because contour machines run slower and need a glue that spreads evenly at 4–6 m/min. Standard EVA grades are also offered in ivory, white, black and brown — matching the glue color to the board and band is a free upgrade to how the finished edge looks.
How to Apply Edgebanding Adhesive Correctly, Step by Step
This is the part to print and hang next to the machine.
Condition the room and the panels. Hotmelts bond by cooling, so everything that steals heat works against you. Keep the workshop and the panels at 18 °C or above, keep board moisture around 7–10%, and let cold panels acclimatize before banding. Watch for drafts: an open gate or a fan blowing across the glue station cools the adhesive in exactly the wrong second.
Prepare the edge. The band can only be as good as the surface under it. Sharp pre-milling cutters, a square chip-free edge, and no dust. A worn pre-mill shows up later as a wavy glue line and weak spots.
Set the real temperature — and verify it. Set the tank and application roller to the working temperature on the datasheet, then check the actual glue temperature at the roller with an infrared thermometer. Displays drift, and heating elements age. Never compensate for another problem by cranking the heat: overheated EVA chars, smokes and loses strength.
Dose the glue amount. Adjust the roller so the edge receives full, even coverage with a fine, continuous squeeze-out line along both sides of the band after pressing — that thin bead is your visual proof of a sealed edge. As a rule of thumb, filled EVA grades run at roughly 150–200 g/m² of bonded surface; low-filled and unfilled grades reach full coverage with less. Too little glue starves the bond; too much pushes out, smears the trimmers and makes the glue line fat.
Match the feed speed to the open time. Every machine has a fixed distance between glue roller and pressure zone; your feed speed determines how much the glue cools on the way. Run within the speed range your adhesive is designed for — HM 550, for example, is formulated for the 4–6 m/min of curve machines — and keep the speed constant. Stop-and-go feeding is a classic source of random bond failures.
Let the pressure zone work. The first pressure roller creates the bond; the rest refine it. Check roller pressure and alignment whenever you change band thickness. A band that is pressed a fraction of a second too late meets glue that has already skinned over.
Respect the cooling. Trimming right after the pressure zone is normal, but full bond strength arrives as the glue line cools completely. Do not stress, flex or machine the fresh edge aggressively in the first minutes, and let stacks cool before wrapping.
Manage the tank. Molten EVA that sits at working temperature for hours slowly degrades. Top up little and often instead of melting a full tank in the morning, lower the temperature to standby during long breaks, skim off char, and give the tank a scheduled clean. Store granulate dry and closed, and rotate stock first-in, first-out.
What to Check for Perfect Edges — Before You Blame the Glue
When an edge fails, the adhesive gets blamed first, but in the field the cause is usually one of these. Run this list top to bottom:
Panel edge freshly milled, square and dust-free
Board moisture 7–10%; panels at room temperature, not straight from a cold warehouse
Workshop at 18 °C or more, no draft across the glue station
Edgeband primer present and intact (check the batch, not just the roll label)
Actual glue temperature at the roller verified against the datasheet
Glue amount confirmed: full coverage, fine continuous squeeze-out
Feed speed inside the adhesive's range and constant
Pressure rollers set for the band thickness and aligned
Tank glue clean and light in color — dark, smoking glue is degraded glue
First-part test each shift: after cooling, peel a strip of band by hand. A good bond tears board fibers out with it; a clean, glue-free band means the bond never happened
That last check — the hand peel test — is the cheapest quality instrument in the factory. Thirty seconds at shift start catches temperature drift, primer problems and dosing errors before they reach a customer.
Troubleshooting: Common Edgebanding Problems and Fixes
Problem | Most likely cause | Fix |
|---|---|---|
Band peels off after cooling | Glue applied below working temperature, cold panels, draft, or feed too slow so the glue cooled before pressing | Verify roller temperature, condition panels, block drafts, run inside the specified speed range |
Band releases only at the ends | End pressure or timing off; glue already skinned at panel exit | Service the pressure section, check open time vs. machine length |
Thick, visible glue line | Too much adhesive, wrong glue color, or a heavily filled grade on a show edge | Reduce dosing, match glue color to the board, switch to a low-filled or transparent grade |
Stringing ("angel hair") on parts | Application temperature too high for the grade in use | Bring the temperature back inside the datasheet range |
Smoke, dark glue, weak bonds | Adhesive overheated or left molten too long — thermal degradation | Drain and clean the tank, refill fresh, use standby temperature during breaks |
Failures only on cold mornings | Workshop and boards below 18 °C | Heat the room, acclimatize panels overnight |
One band batch won't bond | Missing, aged or damaged primer on the band | Test another batch; take it up with the band supplier |
Chipped edges after trimming | Blunt pre-mill or trim cutters, not the adhesive | Sharpen or replace cutters |
Frequently Asked Questions
What temperature should an edgebanding hotmelt run at? Exactly the working temperature on its datasheet — typically around 190 ± 10 °C for standard straight-line EVA grades, and lower for curve grades such as UNOFIX HM 550 at 150 ± 10 °C. Verify at the roller with an infrared thermometer; the display alone is not proof.
How much edgebanding adhesive do I need per square meter? As a guide, filled EVA grades run at roughly 150–200 g/m² of bonded edge surface, while low-filled and unfilled grades cover with less. The practical target is full coverage with a fine, continuous squeeze-out line — confirm the exact figure on your product's datasheet.
Should I choose a filled or unfilled edgebanding hotmelt? Filled grades are the economical standard for everyday boards. Choose a low-filled grade for a finer glue line and lower consumption at speed, and an unfilled transparent grade when the edge is a design feature and the glue line must effectively disappear.
Why do my edges peel in cold weather? Because hotmelts bond by cooling, and cold panels or a cold workshop drain that heat too early. Keep the room and boards at 18 °C or above, acclimatize panels, and shield the glue station from drafts.
Can I run PVC, melamine and HPL bands with the same adhesive? Yes — quality EVA edgebanding adhesives such as the UNOFIX HM series are formulated for melamine, PVC and HPL bands on standard wood-based panels. What changes between materials is the primer on the band and your machine settings, so re-check both when switching.
When does a PO hotmelt make sense instead of EVA? When you need higher heat resistance, cleaner long-run processing or lower consumption per meter, and the numbers justify the upgrade. Remember to purge the tank completely when switching chemistry — EVA and PO must not be mixed.
Can I trim and machine parts immediately after banding? In-line trimming directly after the pressure zone is exactly how the process is designed. Full bond strength, however, develops as the glue line cools completely — so avoid flexing or heavily stressing fresh edges in the first minutes.
The Bottom Line
Perfect edges are not luck. They are a chain of small, controllable decisions: a sound panel edge, the right edgebanding hotmelt for your machine and your look, the correct verified temperature, the right glue amount, a feed speed that fits the open time — and a thirty-second peel test every shift to prove it all.
The UNOFIX edgebanding range covers that chain end to end, from the everyday reliability of HM 100 to the invisible glue line of HM 500. Request a datasheet, ask for a trial sample, or send our technical team your board, band and machine details — we will recommend the grade and the settings that fit your line.
Written by
UNOFIX
Editorial Team
The UNOFIX Editorial Team shares practical insights, technical knowledge and industry-focused content covering industrial adhesives, hot melt technologies and bonding solutions for furniture, woodworking, upholstery, packaging and related manufacturing industries. Our content focuses on real production challenges, adhesive selection, application processes and the latest developments shaping the industry.