
When a membrane-pressed door comes back with lifted edges, the press usually gets the blame. In practice, most rejects trace back to what happened before the platen ever closed: the substrate, the membrane press adhesive, and how that adhesive was applied and dried. This guide walks through the full process — where membrane pressing is used, which adhesive to choose, how to spray it correctly, which press parameters actually decide the bond, and what to check at every stage.
Where Membrane Pressing Is Used
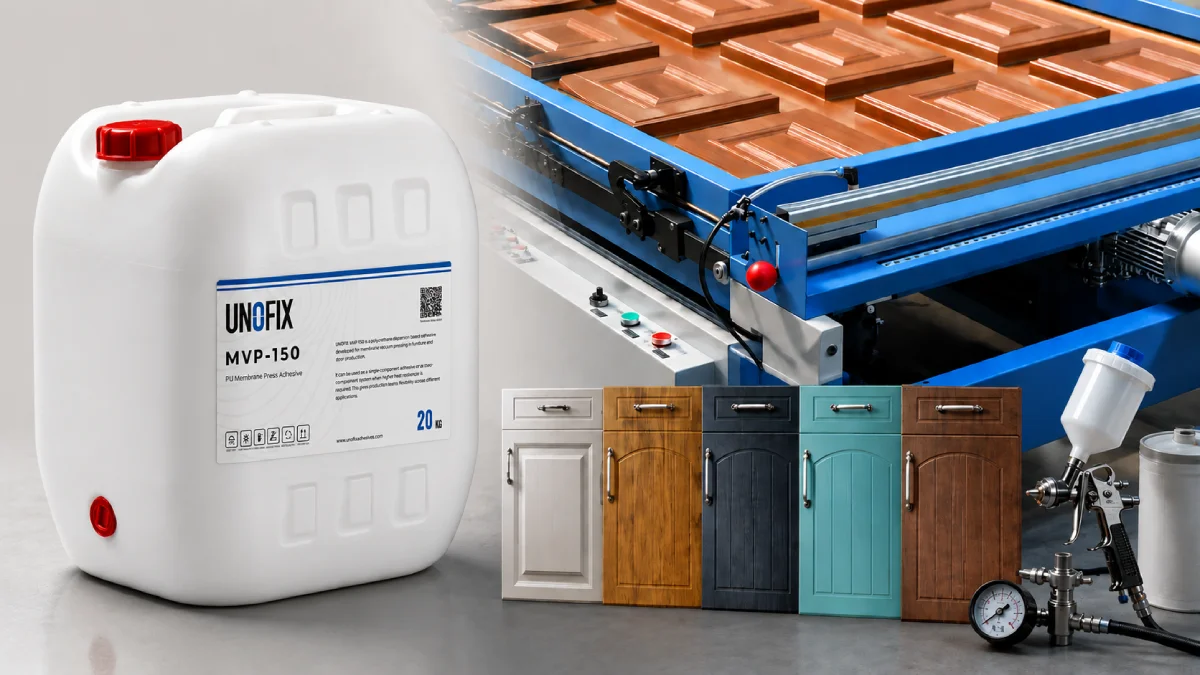
Membrane pressing — also called vacuum pressing or 3D lamination — wraps a thermoformable PVC foil over a milled MDF panel in one piece, covering the face, the routed profile and the edges without a visible joint. Heat softens the foil; vacuum and pressure form it into every contour while the heat-activated adhesive builds the bond.
Typical membrane press applications include kitchen and bathroom cabinet doors, interior door skins and panels, decorative wall paneling, and fixtures for shops and hotels. The process wins wherever you need deep 3D profiles, seamless edges and a durable surface at a fraction of the cost of solid wood or lacquer.
The Right Adhesive: Waterborne PU Dispersion, 1K or 2K
The industry standard for membrane pressing is a waterborne polyurethane dispersion (PUD). It is sprayed onto the MDF, dried to a transparent film, and then heat-activated in the press: at roughly 55–70 °C at the glue line the film softens, wets the hot foil, and crystallizes again on cooling — which is why parts have handling strength almost immediately.
The real decision is one-component versus two-component:
1K PU dispersion — used straight from the container. Suitable for standard interior parts: wardrobe fronts, wall panels, shop fixtures.
2K PU dispersion — the same adhesive dosed with an isocyanate crosslinker, typically 3–5 % by weight. The crosslinker dramatically raises heat, moisture and chemical resistance. For kitchen fronts next to ovens and dishwashers, and for bathroom furniture, 2K is not optional — it is the difference between a door that survives steam cycles and one that peels at the top edge within a year.
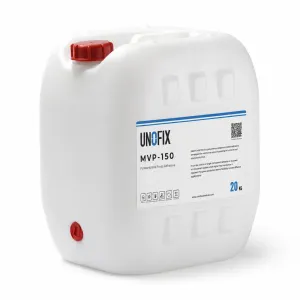
Two rules for 2K work: dose the crosslinker by weight and mix it in thoroughly, and respect the pot life. Mixed adhesive usually stays workable for a shift at most, and its reactivity drops before its viscosity tells you anything. Never pour mixed material back into the original container. The UNOFIX range covers both 1K and crosslinkable 2K membrane press grades; the product TDS always governs the exact figures below.
Get the Substrate Right Before Any Glue Goes On
No adhesive rescues a bad panel. Check these first:
MDF grade. Use membrane-press grade MDF with a homogeneous density profile. Low-density cores expose porous material when routed — those thirsty edges are the number-one delamination point in the field.
Moisture content. Target roughly 7–10 %. Wet boards release vapor in the press and blow bubbles under the foil; over-dry boards absorb too much adhesive.
Acclimatization. Let panels sit 24–48 hours in the press-room climate before spraying. Never spray onto cold boards — waterborne adhesives need a minimum temperature to form a proper film, so keep the room and the panels at 18 °C or above.
Milling and sanding. Clean cutter work, then sand profiles and edges with 150–220 grit to remove machining marks. Slightly break sharp corners; foil bridges a knife-sharp edge instead of bonding to it.
Dust removal. Blow off, then tack. A film of MDF dust is a ready-made release layer between adhesive and board.
How to Apply the Glue, Step by Step
Condition and stir. Bring the adhesive to room temperature and stir gently — enough to homogenize, not enough to whip air in. Filter it into the spray pot.
Set up the gun. A gravity or pressure-pot gun with a 1.5–2.0 mm nozzle at 2–4 bar atomizing pressure is the usual setup. Adjust until a test pass lays down a closed, even wet film with no runs and no dry spray at the edges of the fan.
Hit the coat weight. Faces typically need 60–100 g/m² wet — but don't eyeball it. Weigh a test panel before and after spraying at least once per shift and whenever you change operator, gun or batch. Low coat weight is the most common invisible cause of weak bonds.
Double-coat edges and profiles. Routed profiles and edges are end-grain: they drink adhesive. Apply a first pass, let it flash off briefly, then apply a second. A single coat on edges is a starved joint waiting for a warm day.
Spray with discipline. Even, overlapping passes at constant gun distance and speed. Inconsistent film thickness shows up later as inconsistent gloss and inconsistent bond.
For 2K: dose, mix, note the time on the pot, and stop using the mix when the pot life is up — not when it "still looks fine."
Drying and the Pressing Window
A freshly sprayed PU dispersion looks milky white. As the water leaves, the film turns transparent — and only a fully transparent, dry-to-the-touch film may go into the press. Depending on coat weight and climate, that takes about 20–45 minutes at 20 °C, or around 10 minutes with 40–50 °C warm air. Pressing over trapped water is the classic cause of blisters and a cloudy white glue line.
Once dry, the coated panel has a pressing window. Best practice is to press within the same shift. Many 1K dispersions tolerate longer — often up to 24 hours or more if panels stay clean, cool and dust-free — but the TDS defines the limit. With 2K, the crosslinker keeps reacting in the dried film, so the window is shorter and non-negotiable.
Press Parameters That Actually Decide the Bond
Glue-line temperature, not platen temperature. The adhesive activates at roughly 55–70 °C at the bond line. Typical PVC foil surface temperatures of 110–140 °C get you there, but the correct setting depends on foil type and gauge — the foil supplier's data sheet leads here. Verify with an IR thermometer or thermo strips, especially at the bottom of deep profiles, which heat last.
Heating time. Scale it to foil thickness. Underheated foil never activates the adhesive in profile grounds; overheated foil answers with gloss change, orange peel and telegraphing of the substrate.
Pressure. Vacuum alone can work on shallow profiles, but positive pressure — typically 3–5 bar in membrane presses — is what pushes the foil into deep routings and inner corners where most failures start.
Press time. Usually well under two minutes once activation temperature is reached. With a heat-activated thermoplastic adhesive, longer pressing does not mean a stronger bond — it just cooks the foil.
Cooling. Handling strength comes as the polyurethane recrystallizes on cooling, so let parts cool before aggressive handling or tight stacking. Full chemical cure of a 2K system takes 3–7 days — plan your resistance testing accordingly.
What to Check: The Production Checklist
Before pressing
MDF moisture (7–10 %) and board grade confirmed
Room and panels at ≥ 18 °C; adhesive at room temperature, batch within shelf life, never previously frozen
Crosslinker dose weighed, mix time noted, pot life clock running
Spray pattern tested; coat weight verified by weighing a panel
Edges and profiles double-coated; film dried to full transparency
During pressing
Foil surface temperature checked with an IR thermometer at each recipe change
Vacuum integrity and membrane condition inspected
First-off part checked at every shift start and every foil change
After pressing
Visual inspection: bubbles, orange peel, gloss variation, telegraphing
Edge peel test on a sample after 24 hours
Periodic heat-resistance test per your adhesive supplier's method — after full cure, not the next morning
Adhesive and foil batch numbers logged for traceability
Troubleshooting: Common Membrane Press Problems
Problem | Most likely cause | Fix |
|---|---|---|
Foil lifting at edges or profile bottoms | Starved edges (single coat), dust, glue line never reached activation temperature in the profile | Double-coat edges, tack before spraying, verify temperature at the profile ground |
Bubbles or blisters | Film pressed before fully dry, MDF moisture too high | Dry to full transparency, check board moisture |
White or cloudy glue line | Pressed over residual water | Extend flash-off or use warm-air drying |
Orange peel, telegraphing | Foil overheated, sanding too coarse, foil too thin for the profile | Reduce foil temperature, sand finer, use heavier foil |
Bond fails near oven or dishwasher | 1K used where 2K was needed, crosslinker under-dosed, or tested before full cure | Switch to 2K at the correct dose, retest after 7 days |
Generally weak bond | Low coat weight, adhesive expired or frozen in transit, pot life exceeded | Verify g/m² by weighing, audit storage, use a fresh mix |
Storing and Handling PU Dispersion Adhesives
Waterborne PU dispersions are frost-sensitive. Transport and store them between +5 and +30 °C, ideally 15–25 °C. An adhesive that has frozen once has coagulated irreversibly — discard it; it will not recover with stirring or warming. Keep containers closed, stir before use, use stock within the stated shelf life (commonly around six months), and clean guns, filters and lines with water before the adhesive dries in them.
FAQ
Which adhesive is used for membrane pressing? A waterborne polyurethane dispersion sprayed onto the MDF. Use 1K for standard interior parts and a 2K system with 3–5 % isocyanate crosslinker for kitchen and bathroom fronts that face heat and moisture.
How much glue should I apply per square meter? Typically 60–100 g/m² wet on faces, with edges and routed profiles receiving two coats. Verify by weighing a test panel — the TDS of your specific adhesive governs the exact figure.
Can I spray today and press tomorrow? Often yes with 1K, provided panels stay dust-free and you remain inside the pressing window stated in the TDS. With 2K the window is shorter, because the crosslinker keeps reacting in the dried film.
Why does the foil always release at the edges first? Routed edges are absorbent end-grain and sit at the bottom of the profile, where the foil is coolest. The cure is a double coat on all edges and a verified activation temperature at the profile ground — not more press time.
When can I test heat resistance? Only after full cure. A 2K bond reaches its final resistance after roughly 3–7 days; testing earlier gives false failures.
Written by
UNOFIX
Editorial Team
The UNOFIX Editorial Team shares practical insights, technical knowledge and industry-focused content covering industrial adhesives, hot melt technologies and bonding solutions for furniture, woodworking, upholstery, packaging and related manufacturing industries. Our content focuses on real production challenges, adhesive selection, application processes and the latest developments shaping the industry.